Sunday, 3 January 2016


QUILTY365 (Dec 2015)
 
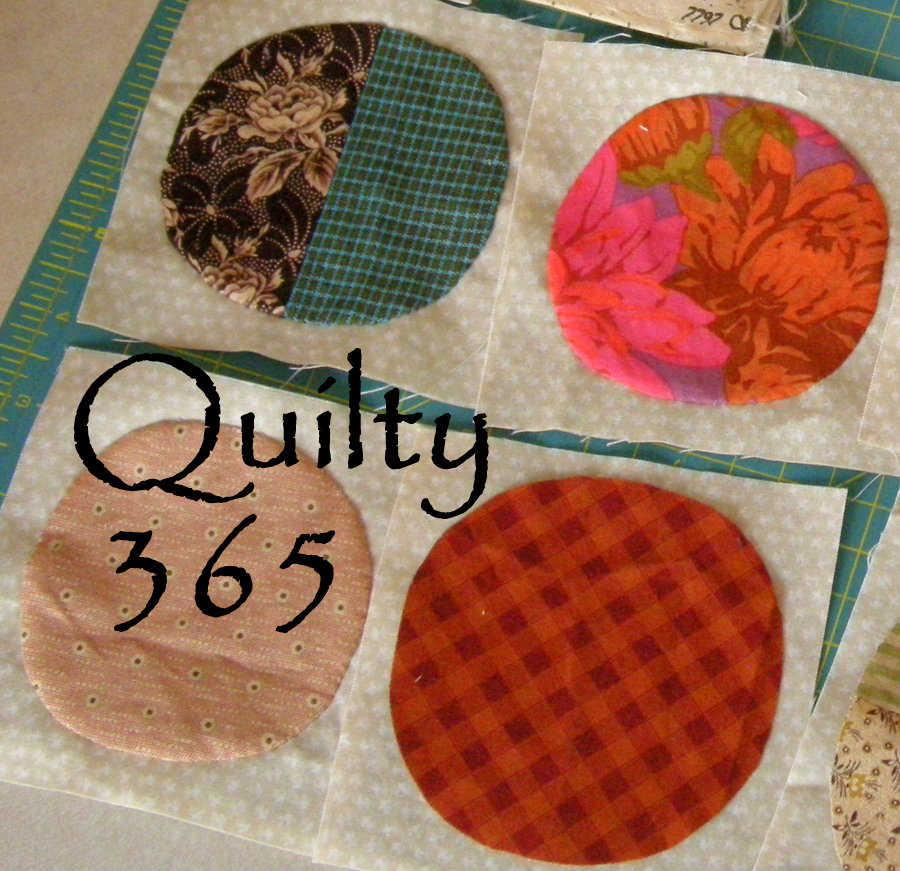
The flowers are blooming!

Each one represents a week.

So far, I've kept to two sizes: 24cm/9.5" and 18cm/7".

There is no particular order to the layout of flowers.

It'll all be random.
 
Week One
I found out after applique-ing this first flower that
I had sewn it on the WRONG side of the cloth!
 
So ~ unpicked and re-appliqued this again on the right side.
 
I'm glad I spotted the mistake after the first flower.

Imagine if I'd noticed after the 10th flower!

Week Two

Week Three

The tatted centres are not sewn on yet.
 
I keep changing my mind about which colour to use!
 
They will most likely be the last thing I sew on.
 
Week Four

Week Five
 
Now that the shops are having post-Christmas sales,
I might venture out to buy thread for tatting.
 
Need more colours!
 

One more look at the flowers so far:
Thanks for reading!

~Ema N~

Linking up with QuiltyFolk, host of Quilty365.


Photos and text belong to the author of this blog, unless otherwise stated.
Please do not use without permission.
 

Monday, 28 December 2015


TATTING: CHRISTMAS
 
I tatted this for a friend as a Christmas gift.
 
This pattern* is my favourite for bookmark crosses.

I like that it's lacy but not overly so.

Even the men like it when tatted in hunter green or Prussian blue.

~~~

A modification: I joined the picots.

This way, the cross holds together better.

It tends to flop around when picots are not joined.

This is how it looks without joins.

Thread: DMC Cebelia #30

Read about this cross here.

It's more delicate than the red one as I used finer thread.

I like both crosses ~ this pattern works, the thread just expresses different moods.

This one, fragile and the red one, strong.


*Pattern is from "The Complete Book of Tatting" by Rebecca Jones.

~Ema N~
 
 
Photos and text belong to the author of this blog, unless otherwise stated.
Please do not use without permission..

Wednesday, 16 December 2015


SCRAPPY X'MAS TREES
 
 A friend and I agreed to exchange hand-made Christmas cards
 instead of e-greeting cards.

We found blank postcards and decided to use them.
 
 I filled the blank space on the postcard with x'mas trees
 using scrap fabric and double-sided tape.
 

 Paste the tape on the back of the fabric.
 
Then cut out triangle shapes,
remove the tape backing and stick them on the postcard.
Stripe fabric work as trunks and
a rummage through the scrap bin yielded a few stars.

(As I type this, I realised stars fit in with the "Space" theme too.)
 
This was fast – and fun - to make!

I think this would be a great craft project with kids.


~Ema N~
 
Linking with up Le Challenge, where the theme this month is “Space”.


Photos and text belong to the author of this blog, unless otherwise stated.
Please do not use without permission